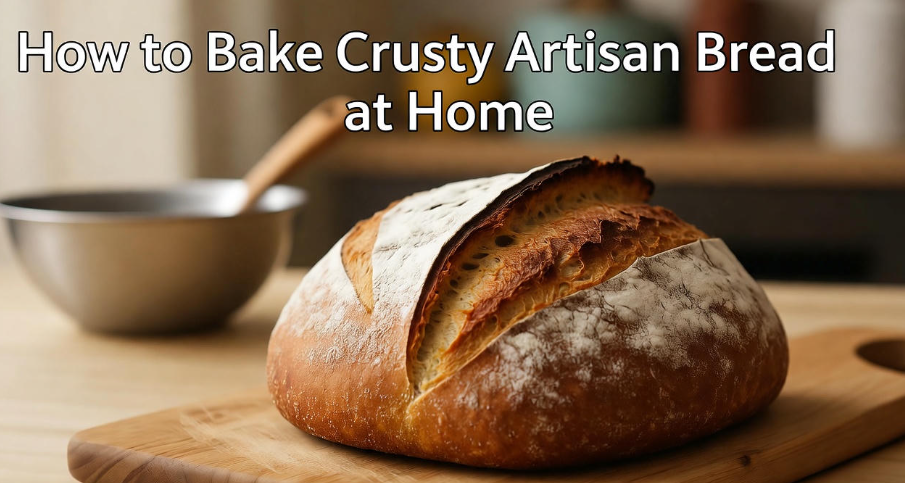
There’s something magical about pulling a golden, crusty loaf of bread straight out of your oven. The aroma fills your kitchen, and that first crackling sound when you slice through the crust — it’s pure joy. Many people think baking artisan bread is complicated or needs fancy equipment, but the truth is… it doesn’t. With simple ingredients, a little patience, and a few secrets, you can make bakery-quality bread right at home.
Let’s go step-by-step and uncover the process of making crusty artisan bread that’s crisp on the outside and soft, chewy, and flavorful inside.
Why Homemade Artisan Bread is So Special 🥖
Homemade bread isn’t just food; it’s an experience. Every loaf tells a story — of time, care, and love. Unlike store-bought bread that’s loaded with preservatives, home-baked bread is pure and honest. You know exactly what’s inside it.
Here’s why people fall in love with it:
-
It’s fresh and full of flavor.
-
You control the ingredients (no chemicals).
-
It’s cheaper in the long run.
-
It’s therapeutic — kneading dough is oddly relaxing.
-
You get that amazing crunchy crust that’s hard to find elsewhere.
If you’ve never baked before, don’t worry — artisan bread is actually one of the easiest types to start with.
The Simple Ingredients You’ll Need
Artisan bread is minimalist. You only need a few ingredients, but each one plays an important role.
| Ingredient | Purpose | Notes |
|---|---|---|
| All-purpose flour | Structure | Bread flour can also be used for extra chewiness. |
| Water | Hydration | Use room temperature water. |
| Salt | Flavor enhancer | Helps control yeast activity too. |
| Yeast | Rising agent | Use active dry or instant yeast. |
| Optional: Olive oil, honey | Adds flavor and color | Small amounts can make a difference. |
That’s it. No milk, no eggs, no butter — just the basics. The magic happens in the process.
Step-by-Step: How to Make Crusty Artisan Bread at Home
Here’s the simple breakdown that anyone can follow.
1. Mix the Dough
In a large bowl, mix 3 cups of all-purpose flour, 2 teaspoons of salt, and ½ teaspoon of instant yeast. Slowly add 1½ cups of lukewarm water. Stir with a spoon or your hand until you have a rough, shaggy dough.
It doesn’t have to look perfect — just make sure all flour is mixed in.
2. Let It Rest (Fermentation Time)
This is where the flavor builds up. Cover the bowl with plastic wrap or a clean towel and leave it at room temperature for 12 to 18 hours.
Yes, it takes time — but that’s the secret. The yeast works slowly, developing that deep, slightly tangy taste artisan bread is known for.
When ready, the dough will look bubbly and doubled in size. That’s your sign it’s perfect.
3. Shape the Dough
Lightly flour a surface and your hands. Gently lift the dough — don’t punch it down too much, you don’t want to lose the air bubbles.
Shape it into a round ball. You can fold it inwards a few times to give it structure.
Place the shaped dough on parchment paper or a floured towel, and let it rest for another 30 to 45 minutes.
4. Preheat Your Oven and Pot
Here’s a professional secret: Bake your bread inside a Dutch oven (or any heavy pot with a lid). It traps steam inside, creating that crispy crust.
Put the empty pot inside the oven and preheat it to 450°F (230°C). Let it heat up for about 30 minutes.
5. Bake the Bread
Once preheated, carefully remove the pot (it’ll be extremely hot). Lift your dough using the parchment paper and place it inside the pot. Cover it with the lid and bake for 30 minutes.
After 30 minutes, remove the lid and bake uncovered for another 10–15 minutes until the crust turns golden brown.
6. Cool Before Slicing
Resist the temptation to cut it immediately. Let it rest for at least 30 minutes. This allows the steam to settle and the inside to firm up.
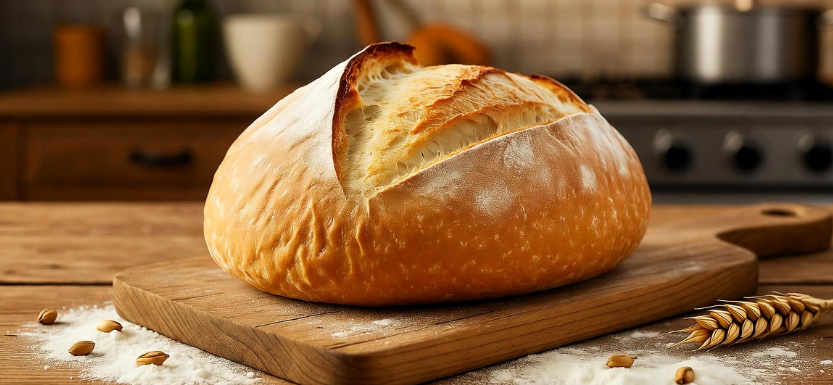
Once you slice it, you’ll hear that satisfying crackle sound — the mark of perfect artisan bread.
How to Get That Perfect Crust Every Time
A great crust is what separates average bread from artisan bread. Here’s how to achieve it:
✅ Use steam — either by baking inside a Dutch oven or by placing a tray of water in the oven.
✅ Don’t over-handle the dough — keep those air bubbles intact.
✅ Bake long enough for the crust to darken slightly; it adds flavor.
✅ Let it cool completely before cutting — that’s when the crust sets properly.
Pro Tips for Home Bakers 👩🍳
-
Flour Type Matters: Try mixing 2 cups of all-purpose flour and 1 cup of whole wheat flour for a more rustic flavor.
-
Experiment with Add-ins: Add herbs, seeds, olives, or cheese for unique flavors.
-
Cold Fermentation: You can refrigerate the dough overnight for a deeper, slightly sour flavor.
-
No Knead Trick: You don’t have to knead this bread — time does the work for you.
-
Storage Tip: Store in a paper bag or wrapped in a towel. Avoid plastic — it softens the crust.
Why the Long Rise Time Makes a Difference
When you let dough rest for hours, the yeast works slowly to break down the starches in flour. This creates complex flavors and improves texture. It’s what gives artisan bread that slight chewiness and unique taste.
So if you’ve ever wondered why bakery bread tastes better — it’s the patience behind it.
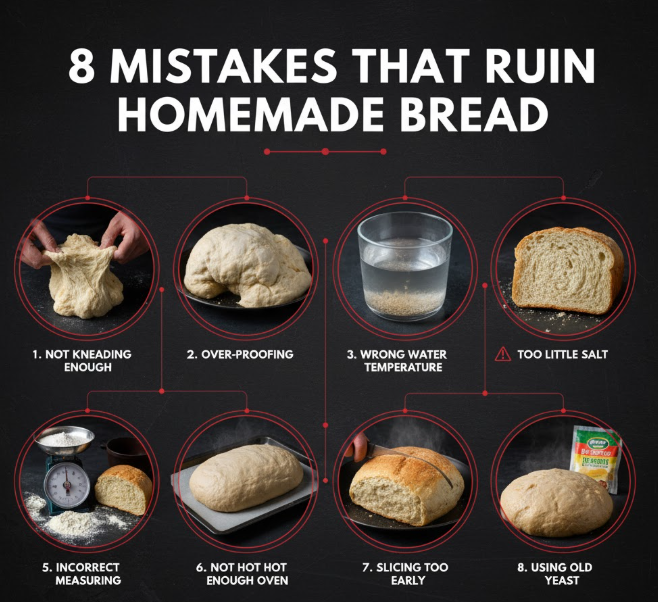
Common Mistakes and How to Avoid Them
| Mistake | What Happens | Solution |
|---|---|---|
| Using too much yeast | Bread rises too fast, lacks flavor | Use only ½ teaspoon for slow fermentation |
| Cutting bread too early | Inside becomes gummy | Let it rest at least 30 minutes |
| Not preheating pot | Crust won’t form properly | Always preheat for 30 mins |
| Too little salt | Bread tastes flat | Stick to 2 teaspoons per 3 cups of flour |
Fun Add-Ons You Can Try 🍯
Once you master the basic recipe, try experimenting with flavors:
-
Add roasted garlic or herbs for an aromatic loaf.
-
Sprinkle sesame or sunflower seeds on top before baking.
-
Mix in grated cheese for a savory twist.
-
For sweet bread, add raisins and a touch of honey.
Small changes can completely transform your loaf and make it your own signature bread.
Simple Troubleshooting Table
| Problem | Cause | Fix |
|---|---|---|
| Crust too hard | Overbaked | Reduce final uncovered bake time |
| Bread too dense | Under-proofed or too little water | Let it rise longer and increase hydration slightly |
| Flat bread | Over-proofed or dough too wet | Shorten rise time or add a little more flour |
| Burned bottom | Oven too hot | Place baking sheet under pot to shield heat |
Serving Ideas for Homemade Artisan Bread 🍽️
Your fresh loaf can be the star of so many meals:
-
Dip slices in olive oil and balsamic vinegar.
-
Use it for grilled sandwiches or bruschetta.
-
Pair with soups and stews — perfect combo!
-
Toast and top with avocado or butter and jam.
-
Turn leftovers into croutons or breadcrumbs.
Homemade bread always brings a touch of warmth to the table.
Storage and Shelf Life
Keep your bread wrapped in a clean towel or inside a paper bag at room temperature. It usually stays fresh for up to 3 days.
If you want to keep it longer, freeze slices in a zip bag and toast them when needed — they’ll still taste freshly baked.
A Quick Recap Table
| Step | What to Do | Time |
|---|---|---|
| Mix | Combine flour, water, salt, yeast | 5 mins |
| Rest | Let dough rise at room temp | 12–18 hrs |
| Shape | Form into a ball | 10 mins |
| Preheat | Heat oven and pot | 30 mins |
| Bake | 30 mins covered + 15 mins uncovered | 45 mins |
| Cool | Rest before slicing | 30 mins |
Why It’s Worth the Effort ❤️
There’s something deeply satisfying about creating bread from scratch. You start with simple ingredients — flour, water, yeast, salt — and end up with something warm, alive, and delicious. It’s not just food; it’s art.
Every loaf you bake improves your confidence and teaches you patience. Plus, your home smells heavenly while it bakes.
Frequently Asked Questions (FAQs)
Q1: Can I make artisan bread without a Dutch oven?
Yes, you can! Use any oven-safe pot with a lid, or bake on a baking sheet with a tray of water underneath for steam.
Q2: Can I use whole wheat flour instead of all-purpose?
Absolutely, but whole wheat flour absorbs more water. Add an extra 2–3 tablespoons of water for better texture.
Q3: What if I don’t have yeast?
You can use a sourdough starter instead. It gives a deeper flavor, but requires more time and care.
Q4: How do I know when my dough is ready to bake?
If it’s doubled in size and jiggles slightly when you shake the bowl, it’s ready.
Q5: Why is my bread pale and not golden?
Your oven might not be hot enough. Ensure it’s fully preheated before baking.
Final Thoughts 🌾
Baking artisan bread at home is simpler than it looks. It’s all about giving time for nature to work — yeast, warmth, and patience. Once you make your first loaf, you’ll never want to buy bread again.
The crunch of the crust, the softness inside, the smell filling your kitchen — it’s worth every minute. So, roll up your sleeves, grab some flour, and let’s bake that perfect loaf. Your future self (and your taste buds) will thank you! 🥖✨