
If you’ve ever baked a cake that looked perfect in the oven but cracked while cooling, you’re definitely not alone. It’s one of those frustrating baking mysteries that can ruin your mood after all that hard work. The truth is — cooling your cake properly is just as important as baking it right. Let’s talk about how to cool cakes without cracking them, in the simplest, most practical way possible.
Why Cakes Crack While Cooling 🧁
Before learning how to fix the problem, let’s quickly understand why it happens. Cakes usually crack because the outer layer cools and contracts faster than the inner part. When this happens too quickly, tension builds up — and that’s when the top breaks open.
Here are some common causes:
| Reason | Description |
|---|---|
| Too sudden temperature change | Taking the cake out of a very hot oven straight into a cold area. |
| Overbaked cake | The cake has already lost too much moisture and becomes dry, making it more fragile. |
| Poor pan insulation | Thin or dark pans heat unevenly, causing cracks and uneven cooling. |
| Improper mixing | Too much air in the batter can cause the surface to rise and crack easily. |
So now that we know why it happens, let’s go over what to do instead.
Let the Cake Rest in the Oven First 🔥➡️🌡️
The first golden rule: don’t rush. Once your cake is baked, don’t immediately pull it out and put it on the counter.
Here’s a little trick:
When your timer goes off, turn off the oven and slightly open the oven door. Let the cake rest there for 5–10 minutes.
This short step allows your cake to adjust gradually to room temperature. The hot air inside the oven slowly mixes with the cooler air outside, reducing the shock that usually causes cracks.
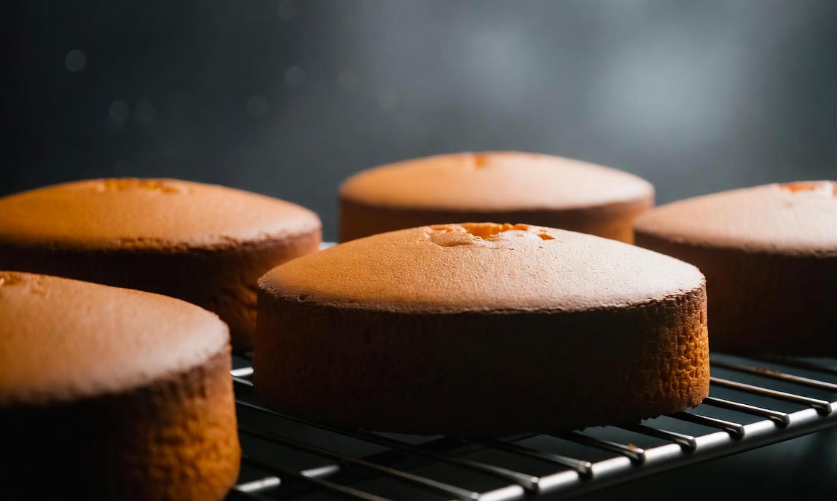
Use a Cooling Rack, Not a Solid Surface 🕸️
A lot of people make the mistake of placing the cake pan directly on the kitchen counter or a flat surface. That’s a big no-no.
You need air circulation underneath your cake. That’s why a cooling rack is perfect — it lets air flow evenly on all sides.
If you place it on a solid surface, the bottom stays hot longer while the top cools faster — again, creating tension and possible cracks. So, always let it rest on a wire rack for the best results.
Don’t Remove It from the Pan Too Soon ⏱️
Here’s something that many impatient bakers do: they take the cake out of the pan right away. That’s risky.
Cakes are delicate when they’re fresh out of the oven. The structure hasn’t fully set yet. Removing it too early can lead to cracks, breaks, or the cake splitting in half.
The right time? Wait at least 10–15 minutes before removing the cake from the pan. When you finally do, gently run a knife along the edges to loosen it. Then flip it onto a rack carefully — don’t bang or shake it hard.
Avoid Drafts and Cold Air ❄️🚫
This one’s often overlooked. Never place your hot cake near a window, under a fan, or in front of an air conditioner. The cold air hits it unevenly and creates surface cracks.
Instead, let it cool in a calm, room-temperature area. If your kitchen is hot, you can move it to another room but make sure the air around it isn’t blowing directly.
Cover It Lightly to Keep Moisture Inside 🧣
When the top layer of a cake loses too much moisture, it becomes dry — and dry cakes crack easily.
You can prevent this by covering your cake loosely with a clean kitchen towel or parchment paper while it cools. Don’t wrap it tightly — just cover it enough to trap some steam. This helps the cake stay soft and prevents the outer crust from hardening too quickly.
Use the Right Cooling Sequence 📋
Here’s a simple timeline to follow for most sponge or butter cakes:
| Step | Time | What to Do |
|---|---|---|
| Step 1 | 0 min | Turn off oven, open door slightly. Let cake rest inside for 5–10 minutes. |
| Step 2 | 10 min | Remove from oven and place the pan on a cooling rack. |
| Step 3 | 20–25 min | Let it rest in the pan to stabilize structure. |
| Step 4 | 30–40 min | Remove cake from pan and place on the rack directly. Cover lightly. |
| Step 5 | 60+ min | Cool completely before icing or storing. |
This step-by-step approach minimizes stress and gives you a smooth, crack-free surface.
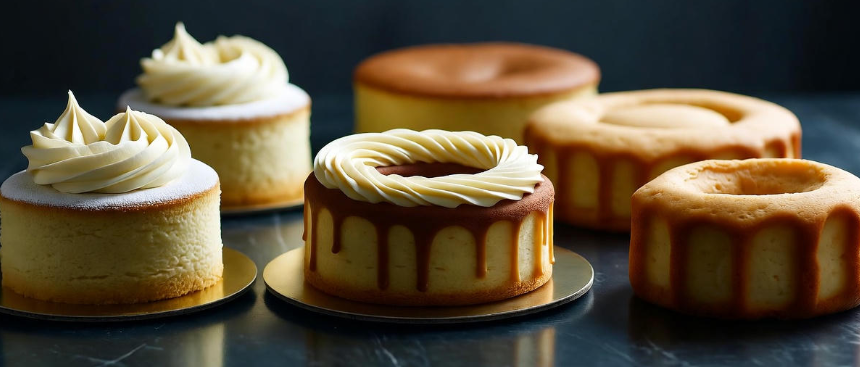
Don’t Ice a Warm Cake 🎂
Many beginners frost their cakes too soon because they can’t wait to see the final result. But applying frosting or icing on a warm cake is one of the fastest ways to destroy your hard work.
The heat will melt the icing, make it slide off, and may even tear the top layer of the cake. Always ensure your cake is completely cool before decorating — ideally, let it rest for at least 1 hour at room temperature.
If Cracks Still Happen (It’s Okay!) 💡
Even experienced bakers get cracks sometimes — and that’s okay. If your cake cracks a little, don’t panic.
Here are a few ways to fix it:
Flip it upside down: The bottom side is usually smooth. You can decorate that side instead.
Trim the top: Use a serrated knife to level it out.
Hide it creatively: Frosting, glaze, whipped cream, or fruit toppings can cover minor imperfections easily.
Remember — cracked cakes still taste amazing!
Extra Tips to Prevent Cracking While Baking 🔬
Cooling isn’t the only factor. Sometimes, how you bake affects how your cake cools.
✅ Lower oven temperature slightly – Try baking at 325°F instead of 350°F. It allows even rising and fewer cracks.
✅ Use the right pan – Light-colored aluminum pans distribute heat better than dark ones.
✅ Don’t overmix batter – Overmixing adds too much air, which weakens structure.
✅ Use baking strips or a water bath – These keep the outer edges cool, preventing dome-shaped cracks.
All of these steps combined ensure smoother cooling afterward.
A Quick Example for Beginners 🍥
Let’s say you’re baking a simple vanilla sponge. You baked it for 35 minutes at 350°F.
Here’s what you do next:
Turn off oven and open the door slightly. Wait 8 minutes.
Place the pan on a rack for another 15 minutes.
Run a knife along the edges, flip it carefully onto another rack.
Cover lightly with a cloth for 30–40 minutes.
Once fully cool, start icing or wrapping for storage.
That’s it — smooth, soft, crack-free cake every single time!
How Long Should You Wait Before Slicing? 🍽️
It might look tempting, but never cut your cake when it’s warm. You’ll ruin the texture and lose moisture. Wait until it’s completely cool, usually around 1–2 hours. For cheesecakes or dense cakes, it can take even longer.
Common Cooling Mistakes to Avoid 🚫
| Mistake | Why It’s Bad |
|---|---|
| Removing cake from oven too fast | Causes temperature shock and cracks |
| Cooling in pan too long | Traps steam, makes bottom soggy |
| Using metal surface | Uneven cooling from bottom |
| Wrapping in foil when hot | Causes condensation and wet spots |
| Cooling near a draft | Uneven air exposure leads to cracking |
Avoid these, and you’re already halfway to perfection.
Storage Tips After Cooling 🧊
Once your cake is cool:
Wrap it in plastic wrap or keep it in an airtight container.
Store at room temperature for 2–3 days.
If you need longer storage, refrigerate it — but always wrap it properly to avoid drying.
Pro tip: before serving a refrigerated cake, let it rest at room temperature for 30 minutes so it regains softness.
Real Baker’s Tip 💬
Professional bakers often say, “Patience is the secret ingredient.” And it’s true. Cooling your cake gently is part of that patience. Think of it like letting your cake “settle” before it’s ready to shine.
Even if you follow all steps, every oven and kitchen behaves differently. So, take notes every time you bake — find what cooling method works best for your setup.
FAQs About Cooling Cakes Without Cracking 🧁
Q1: Can I put my cake in the fridge to cool faster?
Not right away. The sudden drop in temperature can cause cracks or shrinkage. Wait until it’s almost room temperature first, then refrigerate if needed.
Q2: Should I cover the cake while cooling?
Yes, but lightly. A loose towel or parchment paper works great to keep moisture in without trapping steam.
Q3: How do I know if my cake is cool enough to frost?
Touch it gently — if the surface feels completely cool and no warmth comes from the bottom, it’s ready.
Q4: My cake cracked a bit — can I still use it for a layered cake?
Absolutely! Just trim the top to even it out, frost it, and stack it. Nobody will notice.
Q5: Why does my cake sink in the middle while cooling?
That’s usually from underbaking or opening the oven door too early. Make sure it’s fully baked before cooling.
Final Thoughts 🌸
Cooling a cake might seem like a small step, but it can make a huge difference in how your final dessert looks and feels. Slow down, give your cake time to adjust, and avoid rushing it into cold air.
Remember — baking is a mix of art and patience. Treat your cake gently, and it’ll reward you with that perfect, smooth top every baker dreams of. 💛