
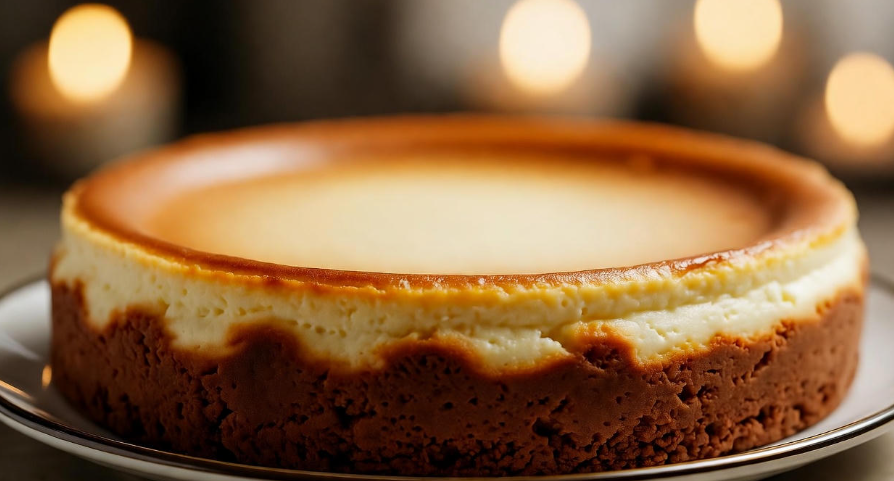
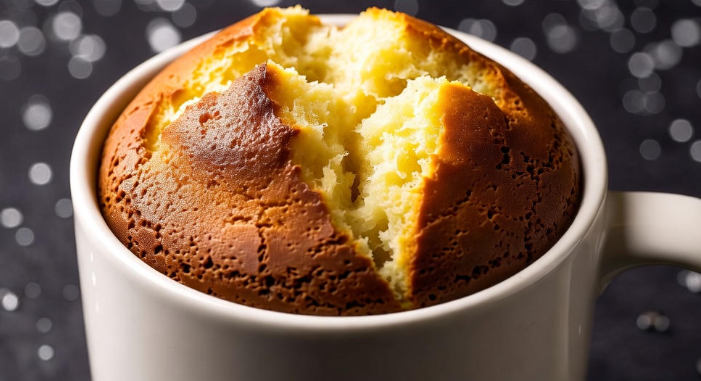
Let’s be honest — cheesecake sounds fancy, looks beautiful, and tastes like pure heaven. But when it comes to making one, most people freeze. They imagine cracked tops, soggy crusts, or undercooked centers. The truth is, a perfect cheesecake doesn’t require magic — just the right method. So, if you’re a beginner, this guide will help you make a creamy, smooth, no-fail cheesecake that everyone will think came from a bakery.
Why Cheesecake Scares Beginners (and Why It Shouldn’t)
A cheesecake can seem intimidating because it’s not your average cake. It’s technically a baked custard — meaning it’s sensitive to temperature and moisture. But once you understand why certain steps matter, it becomes surprisingly easy. Think of it like learning to ride a bike: a little balance, a little patience, and you’re good to go.
The Secret Behind a “No-Fail” Cheesecake
The main secret is simple — don’t rush. Cheesecake is all about slow mixing, gentle baking, and gradual cooling. The less you rush it, the better the texture will be. Another key is using room temperature ingredients. Cold ingredients cause lumps, and overmixing adds air bubbles that can lead to cracks later.
Here’s the good news — this recipe is tested, beginner-friendly, and nearly impossible to ruin if you follow each step calmly.
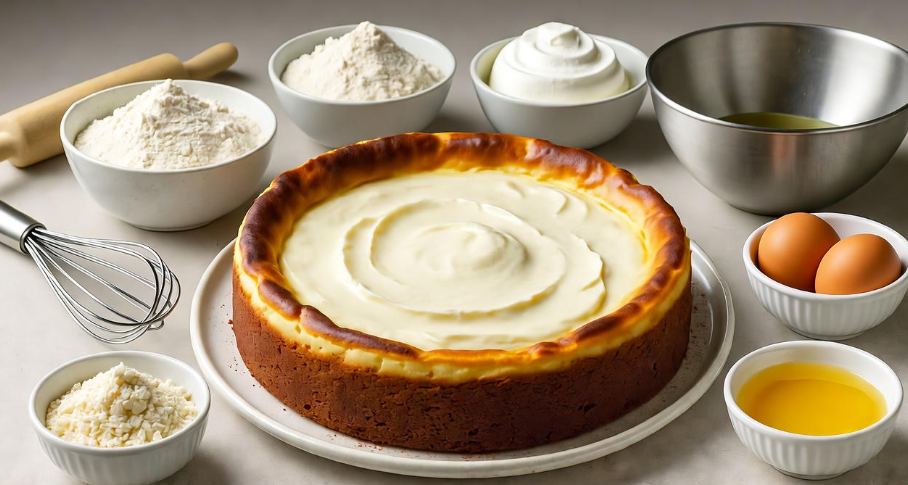
Ingredients You’ll Need 🥣
Let’s start with the basics. Everything you need is easy to find at any grocery store.
| Ingredient | Quantity | Notes |
|---|---|---|
| Cream cheese | 4 packs (8 oz each) | Use full-fat for best flavor |
| Sugar | 1 cup | Regular granulated |
| Eggs | 3 large | Room temperature |
| Sour cream | 1 cup | Adds smoothness |
| Vanilla extract | 2 tsp | Pure vanilla, not imitation |
| Graham crackers | 1 ½ cups | Crushed finely |
| Butter | ¼ cup (melted) | Unsalted preferred |
| Salt | A pinch | Enhances flavor |
| Lemon juice (optional) | 1 tbsp | Brightens taste |
Making the Perfect Cheesecake Crust 🍪
The crust forms the foundation. It should be buttery, crunchy, and just sweet enough to complement the creamy filling.
-
Crush the graham crackers — You can use a food processor or place them in a zip bag and roll with a pin.
-
Mix with melted butter, sugar (optional), and a pinch of salt until it feels like wet sand.
-
Press this mixture evenly into the bottom of a 9-inch springform pan.
-
Pre-bake the crust at 325°F (163°C) for about 8–10 minutes. Let it cool before pouring in the filling.
👉 Pro Tip: Don’t press the crust too tightly, or it may turn hard after baking.
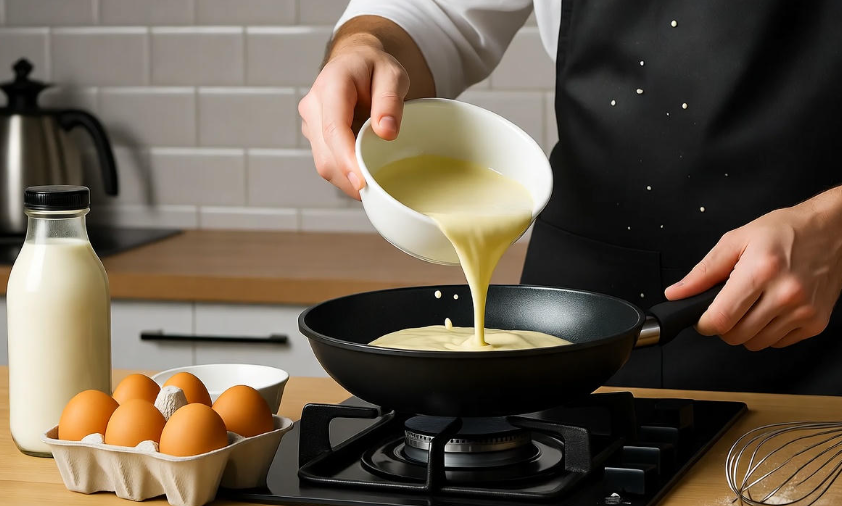
Making the Silky Cheesecake Filling 🧁
Now for the best part — the creamy filling that melts in your mouth.
-
Beat the cream cheese in a large bowl until it’s soft and smooth. Don’t overbeat — just until creamy.
-
Add sugar and continue mixing until the mixture looks fluffy.
-
Add eggs one at a time, beating gently after each one. This prevents overmixing.
-
Mix in sour cream, vanilla, and lemon juice. Scrape down the bowl sides to ensure everything is blended evenly.
That’s it. You now have the perfect base for your no-fail cheesecake.
How to Bake Cheesecake Without Cracks 💡
This is where most people mess up. The goal is to bake it gently — no sudden heat, no dryness.
Water Bath Method (Bain-Marie):
Wrap the outside of your springform pan tightly in two layers of aluminum foil (to prevent leaks). Place the pan inside a larger baking dish, and pour hot water around it — about halfway up the sides.
Now, bake at 325°F (163°C) for 60–70 minutes.
When it’s done, the edges will look set but the center will still jiggle slightly like jelly. Don’t worry — it will firm up as it cools.
Cooling the Cheesecake (The Step Everyone Skips 😅)
Cooling is where the magic happens. Turn off the oven, crack the door open slightly, and let the cheesecake sit inside for 1 hour.
Then, take it out and let it cool completely at room temperature. After that, refrigerate it for at least 4 hours (preferably overnight). This rest time helps the texture become firm, creamy, and perfect.
How to Tell if Your Cheesecake Is Done ✅
Here’s a simple test — shake the pan gently.
If the center jiggles slightly but the edges are firm, you’re done.
If the whole thing wobbles like soup, give it 10–15 more minutes.
Don’t insert a knife to check — it can cause cracks. Trust the jiggle test!
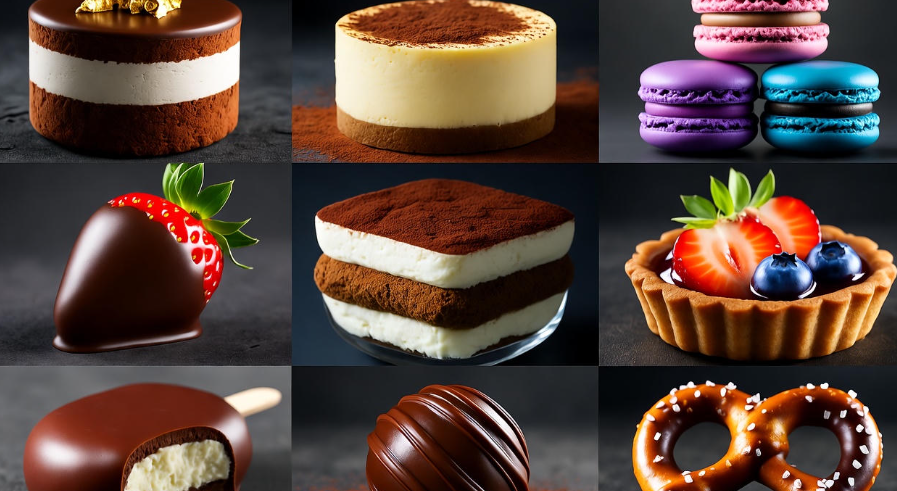
Toppings That Take It to the Next Level 🍓
Plain cheesecake is divine, but a topping can make it feel restaurant-level. Here are a few beginner-friendly ideas:
| Type | Description | How to Make |
|---|---|---|
| Classic Strawberry | Sweet and fruity | Simmer fresh strawberries with sugar and a splash of lemon juice |
| Chocolate Ganache | Rich and creamy | Melt chocolate with cream and pour over cooled cheesecake |
| Caramel Swirl | Buttery sweetness | Drizzle caramel sauce before serving |
| Berry Mix | Fresh and colorful | Use blueberries, raspberries, or cherries |
| Lemon Glaze | Bright and tangy | Mix powdered sugar with lemon juice |
You can also top it with whipped cream, nuts, or cookie crumbs — go creative!
Common Mistakes Beginners Make (and How to Fix Them) ❌
| Mistake | What Happens | Solution |
|---|---|---|
| Overmixing | Cracks and air bubbles | Mix gently and keep speed low |
| Skipping water bath | Cheesecake dries out | Always use a water bath |
| Cooling too fast | Top cracks | Cool gradually in oven |
| Using cold ingredients | Lumpy texture | Use room temperature everything |
| Overbaking | Rubbery texture | Stop when center jiggles slightly |
Storage Tips 🧊
You can store your cheesecake for up to 5 days in the refrigerator, tightly covered.
To freeze: wrap slices in plastic wrap and foil, then store for up to 2 months. Thaw overnight in the fridge before serving.
👉 Bonus Tip: Cheesecake actually tastes better the next day because the flavors blend beautifully overnight.
Fun Variations to Try 🍫
Once you’ve mastered the basic recipe, experiment a little!
-
Chocolate Cheesecake – Add ½ cup melted chocolate to the batter.
-
Oreo Cheesecake – Stir in crushed Oreos before baking.
-
Lemon Cheesecake – Add zest and lemon juice for a tangy kick.
-
Pumpkin Cheesecake – Mix in pumpkin puree and cinnamon for fall vibes.
-
Mini Cheesecakes – Bake in muffin tins for bite-size treats.
These small tweaks can make your cheesecake feel brand new every time.
A Quick Recap for Busy Bakers ⏰
| Step | What to Do | Key Tip |
|---|---|---|
| 1 | Make crust | Don’t press too tight |
| 2 | Prepare filling | Use room temp ingredients |
| 3 | Bake gently | Use water bath |
| 4 | Cool slowly | Leave in oven after baking |
| 5 | Chill overnight | Enhances texture |
Why This Cheesecake Always Works 🥇
This recipe works because it’s forgiving. Even if your oven runs a little hot, or your crust crumbles, it’ll still turn out creamy and delicious. The steps are designed to protect against the common issues — overbaking, cracking, and uneven texture.
If you can follow basic instructions and have a little patience, you’ll make a cheesecake that looks (and tastes) professional.
A Little Cheesecake Wisdom 🍰✨
Cheesecake isn’t about perfection; it’s about pleasure. A small crack doesn’t mean failure — it means you made it with love and learning. Every time you bake, you’ll get better at reading the signs: the texture, the smell, the golden edges. And once you cut that first slice and see how creamy it is inside, you’ll realize it was worth every minute.
FAQs About Making Cheesecake 🧠
Q1: Can I make cheesecake without a springform pan?
Yes! You can use a deep pie dish or square pan. Just line it with parchment paper for easy removal.
Q2: What if I don’t have sour cream?
You can replace it with Greek yogurt or heavy cream — the texture will stay smooth.
Q3: How do I prevent cracks if I don’t use a water bath?
Lower your oven temperature to 300°F and place a pan of hot water on the bottom rack. It helps add moisture to the air.
Q4: Can I bake it without eggs?
Yes, try cream cheese mixed with cornstarch and condensed milk for an eggless version — still rich and delicious.
Q5: Why does my crust stick to the pan?
Make sure to grease the pan or line it with parchment paper before pressing the crust.
Q6: How long should I chill the cheesecake?
At least 4 hours, but overnight is ideal. The longer it chills, the better the texture.
Final Thoughts ❤️
Baking your first cheesecake doesn’t have to be stressful or complicated. With this no-fail recipe, you’ll learn that perfection isn’t about doing everything flawlessly — it’s about taking your time and enjoying the process.
The next time you want to surprise your friends or treat yourself, just remember: cheesecake is your new superpower. Creamy, classic, and completely beginner-friendly.
So go ahead — preheat that oven, grab your cream cheese, and bake your way to dessert glory! 🍰✨
Yo! Check out 888vi22vip. The VIP program is actually kind of tempting, and they have got great deals. Could be your lucky day. Check out 888vi22vip now