
Let’s be honest — sometimes, you just want to make a cake look beautiful, but you don’t have fancy cake decorating tools lying around. No piping bags, no offset spatula, no fondant smoother… and that’s totally fine! The good news? You don’t need any of that to make your cake look amazing. All you need are a few clever tricks, some household items, and a pinch of creativity.
So, grab your cake, take a deep breath, and let’s dive into easy, stress-free ways to decorate a cake without tools — yes, even if you’ve never done it before.
Start with a Smooth Base
Before decorating, make sure your cake has cooled completely. If it’s even a little warm, your frosting will melt, and the decorations won’t hold up.
Now, you might be wondering — how do you spread frosting smoothly without a spatula? Here’s the secret: use the back of a spoon, a butter knife, or even a clean plastic card (like an old gift card).
To get an even layer:
-
Scoop frosting onto the top of your cake.
-
Spread it outward in circles using the spoon’s back.
-
Keep dipping your spoon in warm water to make spreading smoother.
-
Use the card or knife edge to level the sides.
You’ll be surprised how clean and professional it can look with just these simple tools from your kitchen drawer.
Use a Ziplock Bag as a Piping Bag
Who says you need piping bags? A simple plastic Ziplock bag can do the trick.
Here’s how:
-
Fill the bag with frosting.
-
Push all the frosting to one corner.
-
Twist the top of the bag tightly.
-
Snip off a small piece of the corner — and boom! You have a homemade piping bag.
You can make different patterns by cutting different shapes in the corner:
| Cut Shape | Resulting Design |
|---|---|
| Small round cut | Fine lines and lettering |
| Medium round cut | Big dots or swirls |
| Zig-zag cut | Ribbon-like texture |
| Triangular cut | Star-like piping effect |
You can practice on parchment paper first before applying it directly on the cake.
Add Texture Using Common Items
Don’t underestimate the power of everyday objects! If you look around your kitchen, you’ll find so many creative ways to add texture and design.
Try these:
-
Fork: Drag it across the frosting to make wavy or straight lines.
-
Spoon: Use the back to create round swoops or ripples.
-
Toothpick: Draw patterns, write messages, or make swirl designs.
-
Paper towel: Lightly press a textured paper towel on soft frosting for a cool patterned effect.
Each one adds a fun, homemade charm to your cake — no fancy gadgets needed.
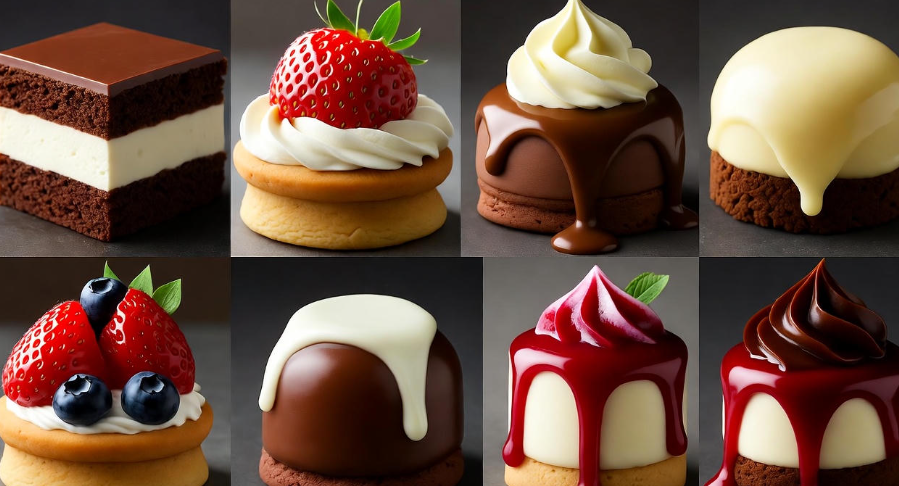
Decorate with Fresh Fruits 🍓🍊🍇
When in doubt, go natural. Fresh fruits can make any cake look fresh, elegant, and colorful.
Try combinations like:
| Fruit | Best Cake Match | Look |
|---|---|---|
| Strawberries | Vanilla or chocolate | Romantic and classic |
| Blueberries | Lemon or vanilla | Clean and modern |
| Mango slices | Coconut cake | Tropical and bright |
| Kiwi & grapes | Plain sponge | Fresh and vibrant |
Arrange them in circles, stripes, or just pile them beautifully in the center. You can even glaze them lightly with honey or warm jam to give them a glossy look.
Sprinkles, Nuts, and Chocolate Shavings
Sometimes, less is more — and sometimes, more is fun! Sprinkles, chopped nuts, and grated chocolate can instantly lift your cake’s look.
-
Sprinkles: Colorful and playful — great for birthdays or kids’ cakes.
-
Crushed nuts: Perfect for a rustic, natural style (almonds, pistachios, or walnuts).
-
Chocolate curls or shavings: Use a vegetable peeler to shave a chocolate bar — it looks fancy, but it’s effortless.
You can even mix them together to create your own decoration blend.
Use a Stencil (or Make One)
If you don’t have fancy tools, a simple paper stencil can give your cake that “bakery touch.”
Here’s how:
-
Cut a shape (like a heart, star, or name) out of paper.
-
Place it on the cake.
-
Gently sprinkle cocoa powder, powdered sugar, or crushed biscuits over it.
-
Carefully lift the paper — and voilà! Your design appears.
It’s quick, fun, and looks surprisingly professional.
Drizzle for a Dramatic Effect 🍫
Dripping chocolate or caramel sauce down the sides looks amazing — and you can do it with a spoon.
-
Melt some chocolate with cream (or use store-bought syrup).
-
Let it cool a bit so it thickens slightly.
-
Dip your spoon and gently pour along the edges, letting it drip naturally.
This creates that elegant “drip cake” style seen in bakeries, without needing any special bottle or tool.
Whipped Cream Magic
If frosting feels too heavy or tricky, use whipped cream instead. It’s light, easy to spread, and you can flavor it with vanilla, cocoa, or even instant coffee.
You can apply whipped cream using a spoon swirl technique — just spoon a little on and twist the spoon as you lift it. It gives a soft, cloud-like finish.
To make it extra charming, top it with fruits, nuts, or even crushed biscuits.
Play with Layers and Height
A great visual trick: stack smaller cake pieces or cupcakes on top of the main cake. It gives a “tiered” look without actually baking multiple tiers.
Decorate the small top piece separately — maybe with fruits, melted chocolate, or powdered sugar. It gives the whole cake more shape and personality.
Decorate with Things You Already Have
Here’s a secret most home bakers forget: You probably already own “decorations.”
Think about these:
-
Cookies: Stick them on the sides or top.
-
Candies or chocolates: Create a border around the top.
-
Marshmallows: Cut and shape into petals for flowers.
-
Coconut flakes: Make snow-like covering for winter-style cakes.
These are not only easy but edible and fun — especially if you’re making a cake for kids.
Natural Decorations 🌿
You can make your cake stand out using things from your garden or pantry. Just make sure they’re safe and clean.
Ideas include:
-
Mint leaves for freshness.
-
Edible flowers (like rose petals, violets, or pansies).
-
Cinnamon sticks or star anise for a warm, cozy look on chocolate cakes.
These natural touches make your cake look straight out of a magazine — no tools required!
Creative Dusting
If you have cocoa powder, powdered sugar, or instant coffee — congratulations, you have cake dust! 😄
Use a fine sieve or even a small strainer to lightly dust your cake. You can create contrast by dusting half and leaving the other half plain — it looks artistic and elegant.
Homemade Cake Borders
To make the edges look neat, you can use:
-
Crushed biscuits pressed gently along the sides.
-
Desiccated coconut for a soft, snowy finish.
-
Rolled oats or tiny chocolate chips for a crunchy border.
Borders make even the simplest cake look finished and tidy.

Add a Personal Touch
Sometimes, what makes a cake beautiful isn’t perfection — it’s personality. Write a small message using melted chocolate (you can do this with your DIY ziplock piping bag). Or place a small topper made of paper — like a birthday tag or tiny flag.
It doesn’t have to look “perfect,” it just has to feel special.
Quick Cake Decoration Ideas (When You’re in a Hurry)
| Situation | Quick Fix |
|---|---|
| No frosting left | Dust with powdered sugar or drizzle honey |
| Cake cracked | Cover with whipped cream and fruit |
| Cake looks plain | Add sprinkles or grated chocolate |
| Uneven top | Trim slightly and flip it upside down before frosting |
These simple fixes save time and make your cake look like it was planned that way!
Pro Tips for a Better-Looking Cake Every Time
-
Always decorate on a cool, fully chilled cake.
-
Don’t over-handle fruits — place them gently.
-
Step back and look at your cake as you decorate — balance the colors.
-
Keep a clean, damp cloth nearby to wipe off mistakes.
-
Most importantly: enjoy the process!
Decorating a cake isn’t about perfection — it’s about expression.
FAQs 🍰
Q1: Can I decorate a cake without frosting?
Yes! You can dust it with powdered sugar, drizzle with chocolate, or top it with fruits and nuts. Even a plain cake can look festive with creative toppings.
Q2: What can I use if I don’t have a piping bag?
A ziplock or sandwich bag works perfectly. Just snip off one corner and pipe away!
Q3: How do I make chocolate shavings without a peeler?
You can scrape the side of a chocolate bar with a knife. Just make sure it’s slightly warm to create soft curls.
Q4: Can I use regular cream instead of whipped cream?
Not quite — regular cream is too runny. But you can whisk it with a bit of sugar until it thickens and use it as a light frosting.
Q5: What if my frosting looks messy?
Turn it into texture! Use a spoon to make waves or rustic swirls. Imperfection can look very artistic.
Final Thoughts 💡
Decorating a cake without tools isn’t about doing it perfectly — it’s about having fun, being resourceful, and creating something beautiful with what you already have. You don’t need professional skills or gadgets; you just need creativity and a willingness to experiment.
So the next time you bake a cake, don’t stress about tools. Pick up that spoon, grab a few fruits, sprinkle some sugar — and make your masterpiece. Because at the end of the day, the best-decorated cakes are the ones made with love (and maybe a little bit of chocolate too 😉).